User Guide > Working with projects and projects files > Create a new project
To create a new project:
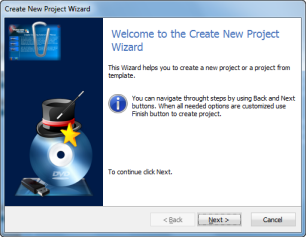
Step 1 : On the File menu, click New (Ctrl+N hotkey) or press the New Project button on the main toolbar(![]() ) to start the Create New Project Wizard and click Next.
) to start the Create New Project Wizard and click Next.
Step 2:
![]() - Select one of the following creation mode :
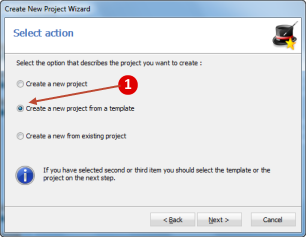
- Select one of the following creation mode :
| • | Create a new project - to create an empty new project. |
| • | Create a new project from a template - to create a new project from a template. |
| • | Create a new from existing project - to create a copy of the already existing project. |
Step 3 :

![]() - Select one of the project templates from the list (if you use a «Create a new from template» mode) or one of the existing project from the list (if you use a «Create a new from existing project» mode).
- Select one of the project templates from the list (if you use a «Create a new from template» mode) or one of the existing project from the list (if you use a «Create a new from existing project» mode).
Step 4:
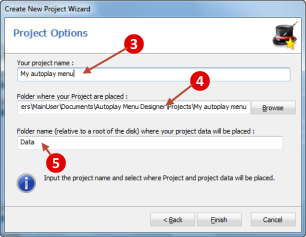
![]() Type a name for the project.
Type a name for the project.
![]() Type the name of or browse to the folder where you want to store the project. By default, this is a folder named "Autoplay Menu Designer\Projects" in your "My Documents" folder.
Type the name of or browse to the folder where you want to store the project. By default, this is a folder named "Autoplay Menu Designer\Projects" in your "My Documents" folder.
![]() Type the name of the folder where your project data will be placed and that will be located in the root of the final disk. By default, this is a folder named "Data".
Type the name of the folder where your project data will be placed and that will be located in the root of the final disk. By default, this is a folder named "Data".
Click Finish. The new project will be created.
If you want to change the project settings , select [Main menu] > [Project] > [Settings] menu item.