User Guide > Working with projects and projects files > Publish a project
To publish a project
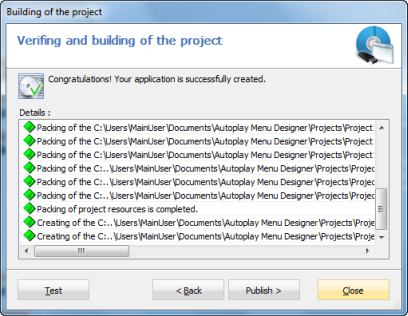
| 1. | Before you start to publish a project you should Build and Test a project successfully . |
| 2. | Click the Publish and in the Publishing the project dialog select one of the following modes : |
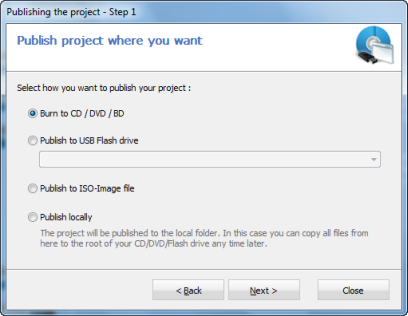
| • | Burn to CD / DVD / BD - select it to burn an autorun CD / DVD / BD by using an embedded burning function. |
| • | Publish to USB Flash drive - select it if you want to publish your application into the USB Flash disk. |
| • | Publish to ISO-Image file - use this mode if you need to create an ISO-image file, which can be written to the CD / DVD / BD later on another computer by using any burning program. |
| • | Publish locally - in this case, the final application will be located in the local folder and you can use it any time later. |
3. Click Next.
4. If you use the Burn to CD / DVD / BD or Publish to ISO-Image file mode the setting dialog will appear.
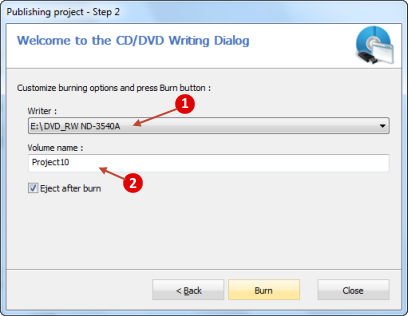
![]() - Select the Writer which you will use.
- Select the Writer which you will use.
![]() - Type the Volume name. A volume label is a unique name assigned to a drive, disc, or other media. In Windows, a volume label is not required but it's often useful to give a name to a drive to help identify its use in the future.
- Type the Volume name. A volume label is a unique name assigned to a drive, disc, or other media. In Windows, a volume label is not required but it's often useful to give a name to a drive to help identify its use in the future.
| • | Insert a writable media disk into Writer (only for the Burn to CD / DVD / BD mode) and click Burn. |
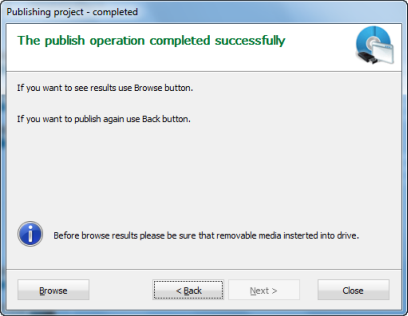
5. Wait while the publish operation is completed and click Close.