User Guide > Getting Started > Quick start
Autoplay Menu Designer is one of those programs that is a lot easier to understand once you've tried it once or twice. So, to help you get oriented quickly, we'll walk you through the basic steps of starting a project, building it, and trying it out.
The first thing you see when you start Autoplay Menu Designer is the Welcome to .. dialog:
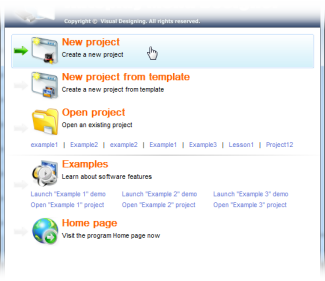
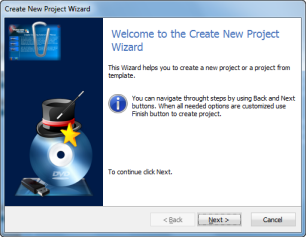
Select the New Project item and you will see the Create New Project dialog:
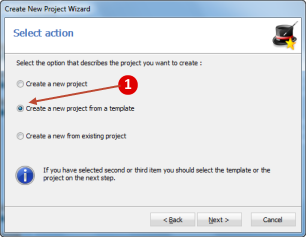
Click Next and select the Create a new project from template ![]() item.
item.
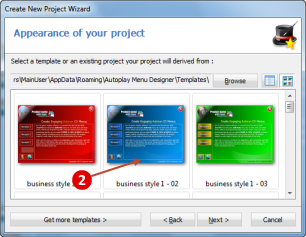
Click Next and select one of the project templates from the list ![]() .
.
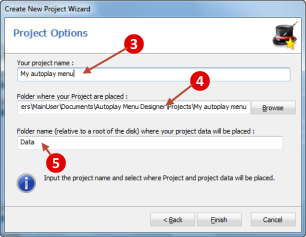
Click Next and type a name for the project ![]() .
.
Click Finish. Autoplay Menu Designer will create a new project based on the template you selected, and load it into the design editor.
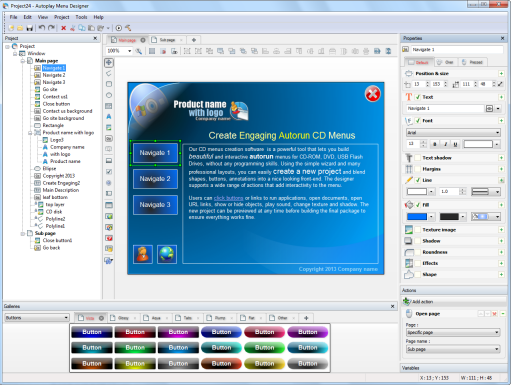
At this point, you're free to customize the project in any way you like.
For more information, see
To look through changes press the hotkey F9 or the preview button (![]() ) on the main toolbar.
) on the main toolbar.
Once you are happy with your project press the build button (![]() ) on the toolbar to start the build process. The Building project dialog will appear.
) on the toolbar to start the build process. The Building project dialog will appear.
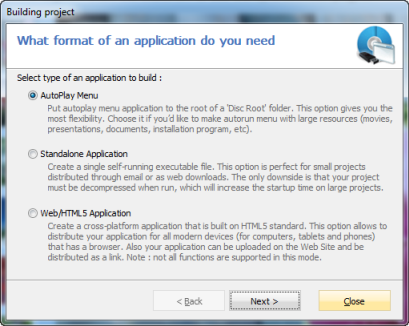
Select the AutoPlay Menu item and click Next button, so you can see as Autoplay Menu Designer builds your project. As soon as the project is built, the final dialog will be opened for you automatically.
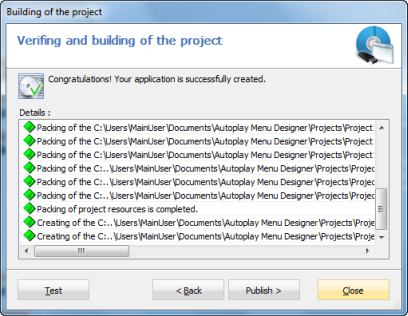
Press the Test button to launch the application.
Press the Publish button to publish the application to the CD/DVD or USB Flash Drive or to the local folder.
See also